Quilt history revisited: The Churn Dash or Monkey Wrench pattern
April 2024
Covering Quilts
Quilt history revisited: The Churn Dash or Monkey Wrench pattern
by Sandra Starley
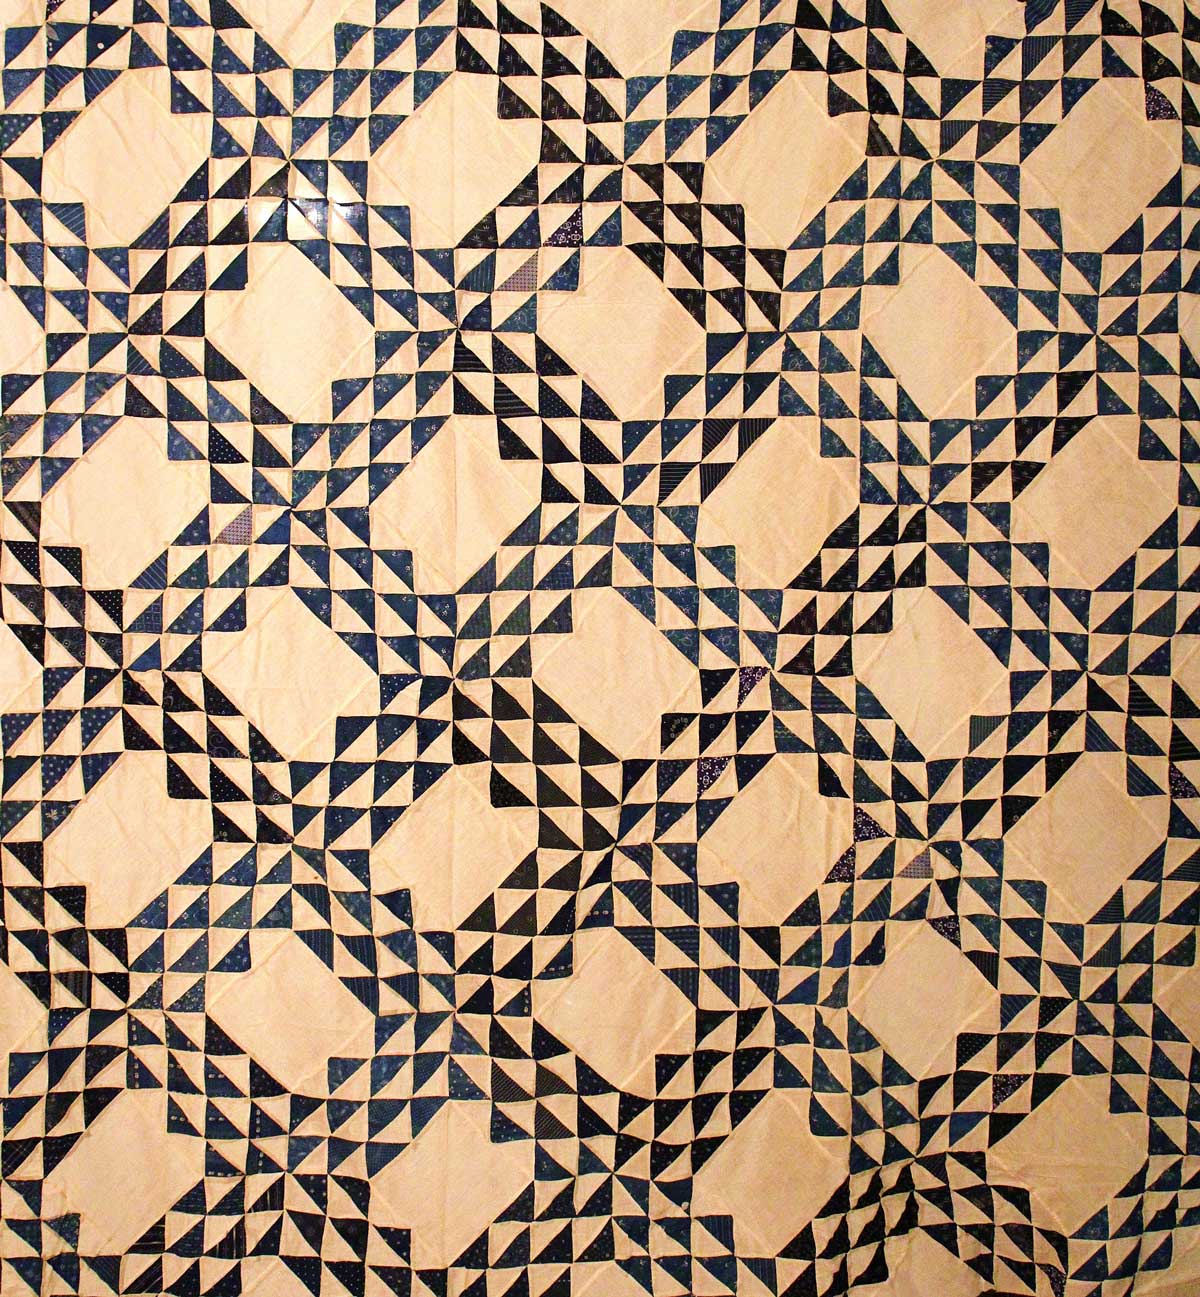
Have you been churning butter or fixing wagons recently? If not, you might appreciate a bit of background information on the origins of the two most common names for this versatile nine-patch pattern. The name “Churn Dash” is based on the block’s similarity to a dash or dasher, the cross-shaped paddle in the center of a butter churn. “Monkey Wrench” is based on the block’s resemblance to a fixed carriage or wagon wrench and to adjustable wrenches (look at the top row of the block and visualize the gripping teeth of a wrench). The block and these names have been around since about 1855 with the first publication in 1884 as “Double Wrench” in Farm and Fireside magazine.
Many quilt historians have discussed the origins of the two names. In 1915, Marie Webster noted that “inanimate objects, particularly those about the house, inspired many names for patterns” and mentioned both block names. Similarly in 1929, Ruth Finley observed, “A source of quilt name inspiration quite as rich as political feeling was found in the trades and occupations of the times. … “The Double Monkey Wrench,” “The Churn Dash” … all these are names, previously noted, that came from women’s familiarity with old-time callings.” And in 1931, Ruby McKim wrote that “The wrench design is an authentic, old-time quilt pattern, and a very typical one, too.”
These utilitarian names were likely familiar to early quilt makers well acquainted with butter Churns and Wrenches along with Broad Axes, Holes in the Barn Doors, Hens and Chickens, and Shoo Flies (additional names for the blocks). Regardless of which one of the 40-plus published names is used, the block is a variation of a nine-patch; composed of a center square, half square triangle corners with four rectangle sets or squares in between. The blocks are pieced as either an even nine-patch or uneven nine-patch. Do not be confused, the names Monkey Wrench and Churn Dash have been used interchangeably for many years to refer to both versions.
Pattern designers are probably responsible for some of the more romantic names for the blocks like: True Lover’s Knot, Bride’s Knot and Love Knot. This simple block can have a soft feel made in pink and white but in browns and shirtings has quite a masculine feel. The block is a true chameleon, taking on the flavor of the fabrics, setting and sashing used. Modern quilters are using this characteristic to make this traditional block their own. More about that next issue and hints to make the pattern uniquely you. Whether that is making a wonky version, block in block version or using crisp, clean, modern colors. There is a popular quilt along right now highlighting the continued popularity of this timeless pattern.
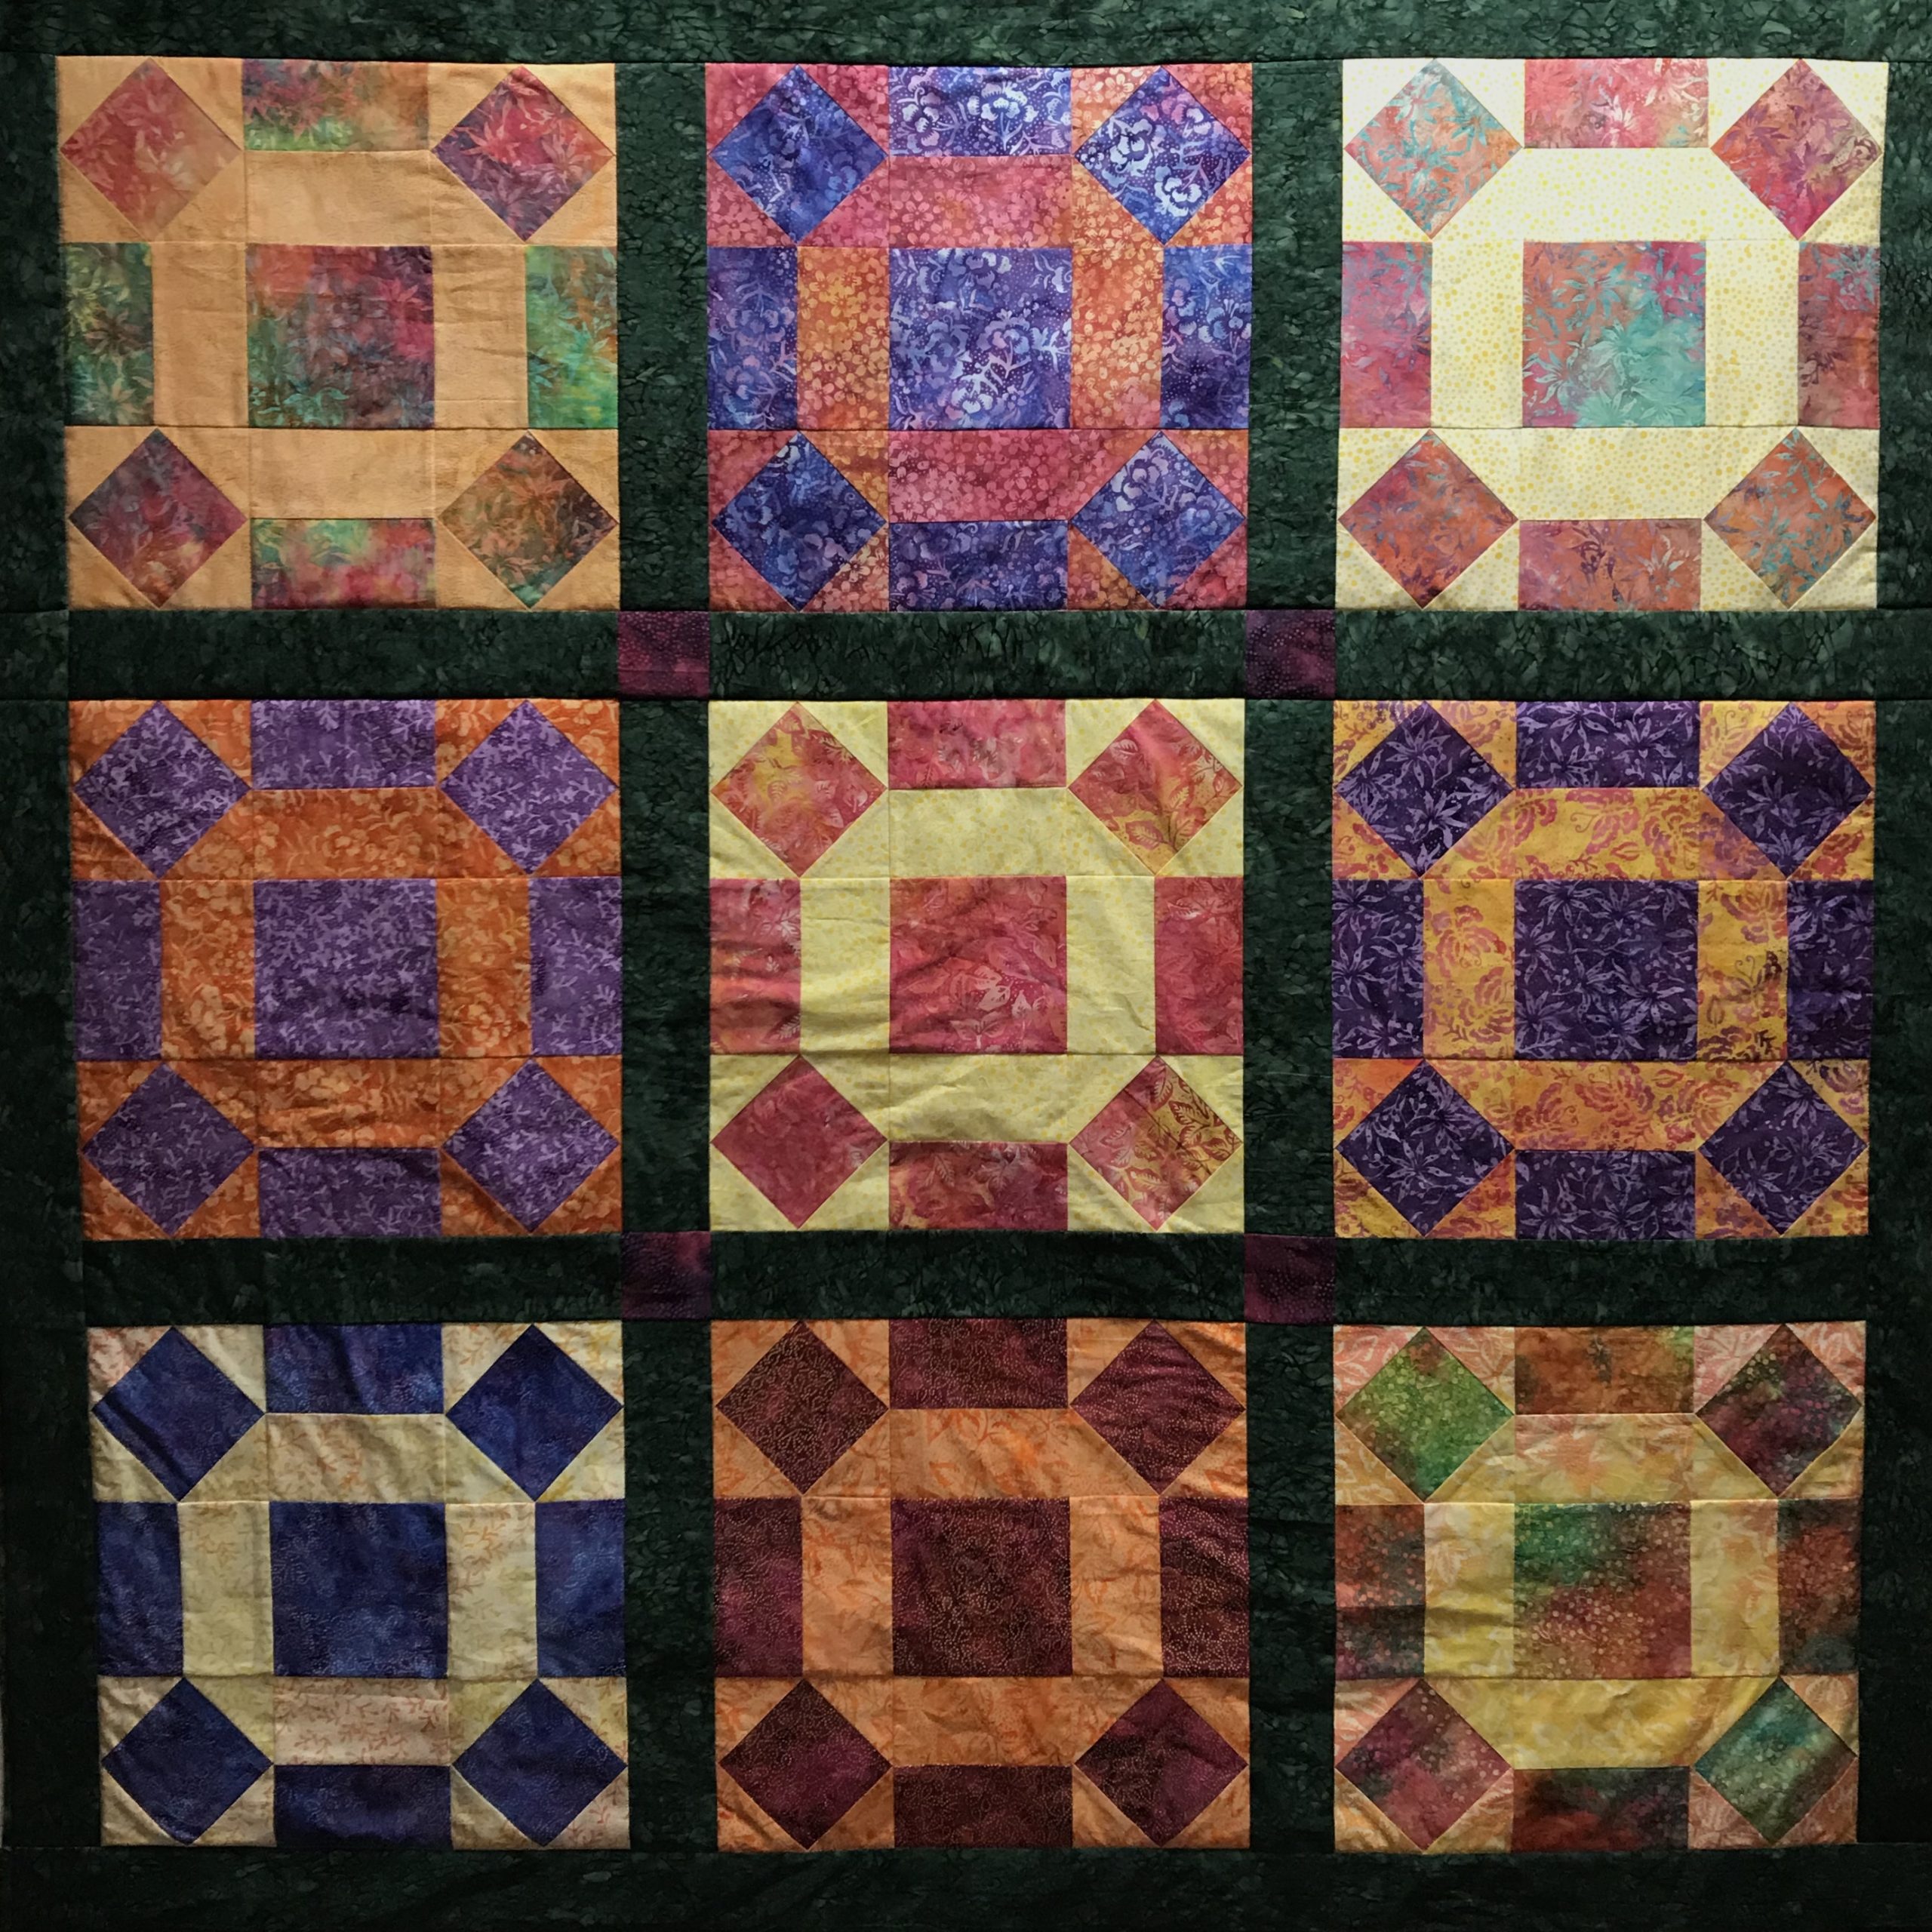
And speaking of modern, the quilt shown here is antique but has a very fresh feel. This unusual Amish version, about 100 years old, would be the star of any modern quilt show. The uneven fading of two different purples has created an unexpected and innovative color placement with striking diagonal movement from light to dark. While the original quilter might be dismayed, you can color me inspired, and I hope you will be inspired, too!
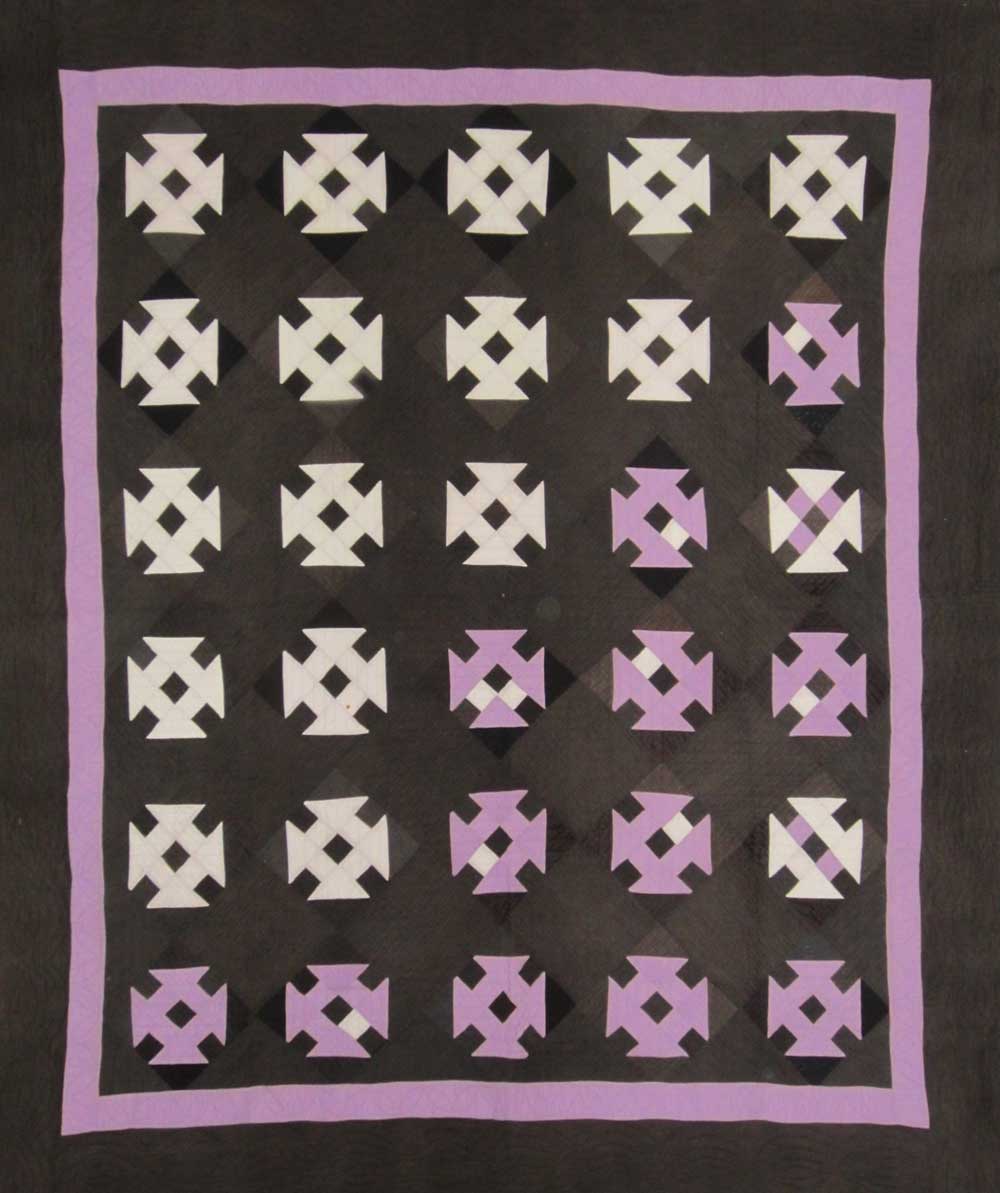
An Amish Churn Dash
An Amish Churn Dash, circa 1920; 70” X 80” from the Donna Starley Collection. (Image courtesy of the autho
Sandra Starley is nationally certified quilt appraiser, quilt historian, and avid antique quilt collector. She travels throughout the U.S. presenting talks on antique quilt history, fabric dating classes and trunk shows as well as quilting classes. Learn more at utahquiltappraiser.blogspot.com. Send your comments and quilt questions to SandraStarley@outlook.com