Learn something new – take a quilt class
August 2022
Covering Quilts
Learn something new – take a quilt class
by Sandra Starley
This year, I have been focusing my column on the benefits of learning new quilting skills whether to stretch your brain or finish old projects. One great way to learn a new technique or method is by taking a quilting class. There are many choices available for taking quilt classes and truly something for everyone.
Whether you have never sewn a stitch or are an expert sewist, there is a class for you. They range from traditional, in-person classes available at quilt shops, guilds, and shows (local, regional, or national venues) to the now-many online computer selections (live or recorded/on demand).
It should come as no surprise that online classes have become an even more popular option with the Zoom-ifaction of life. As we have become more used to and confident using Zoom and other online opportunities, the demand for online classes, which exploded due to necessity during the pandemic, continues to grow.
While in-person classes are coming back as people enjoy meeting together, the ease of learning from home and sewing in your comfy pajamas is hard to beat. Online classes are perfect if you are trying to fit sewing into a busy schedule as you can find recorded classes to watch when you want.
Beginning Quilters
If you are a beginner, it is good to start with a basic class to get acquainted with Quilting 101. You will learn about tools like rotary cutter and rulers, cuts of fabric, different techniques, and the super-important quarter-inch seam allowance, a necessary part of making pieces fit together. Starting off with a good foundation will help lessen the learning curve.
Quilting does have its own language, and getting an inside scoop helps make it less mysterious and more fun! A class at a local shop or guild will help you meet new quilty friends, too.
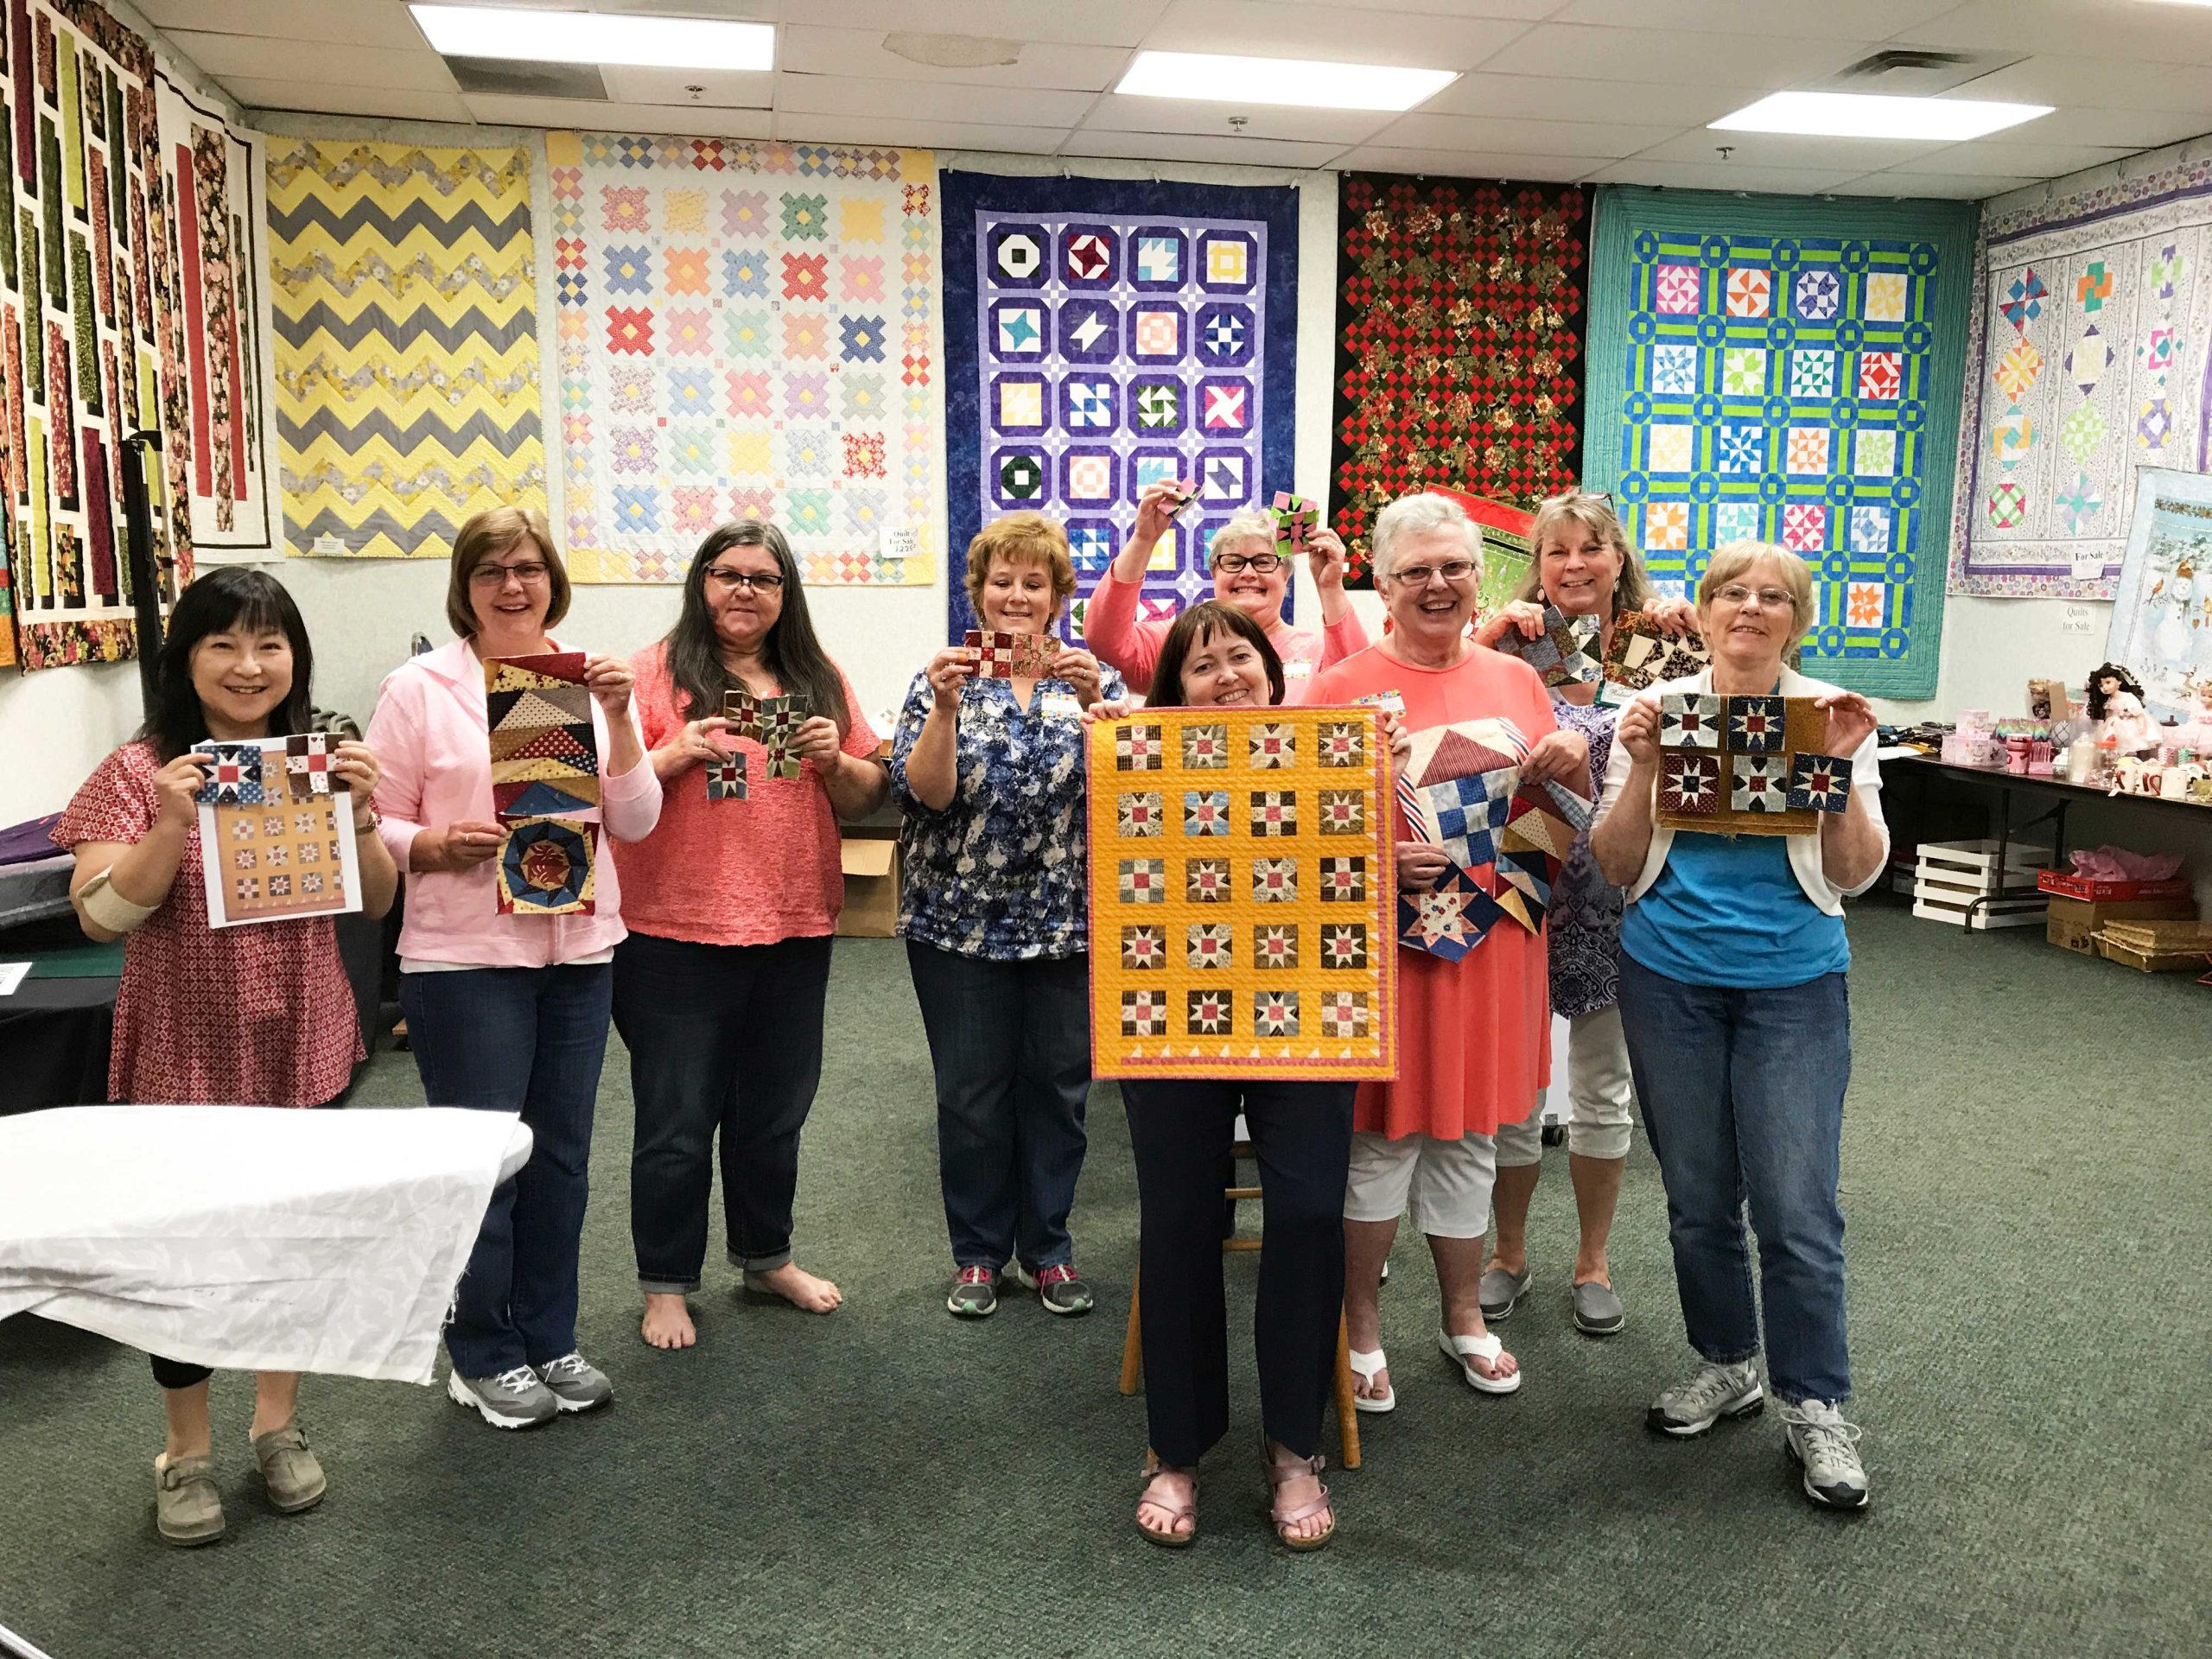
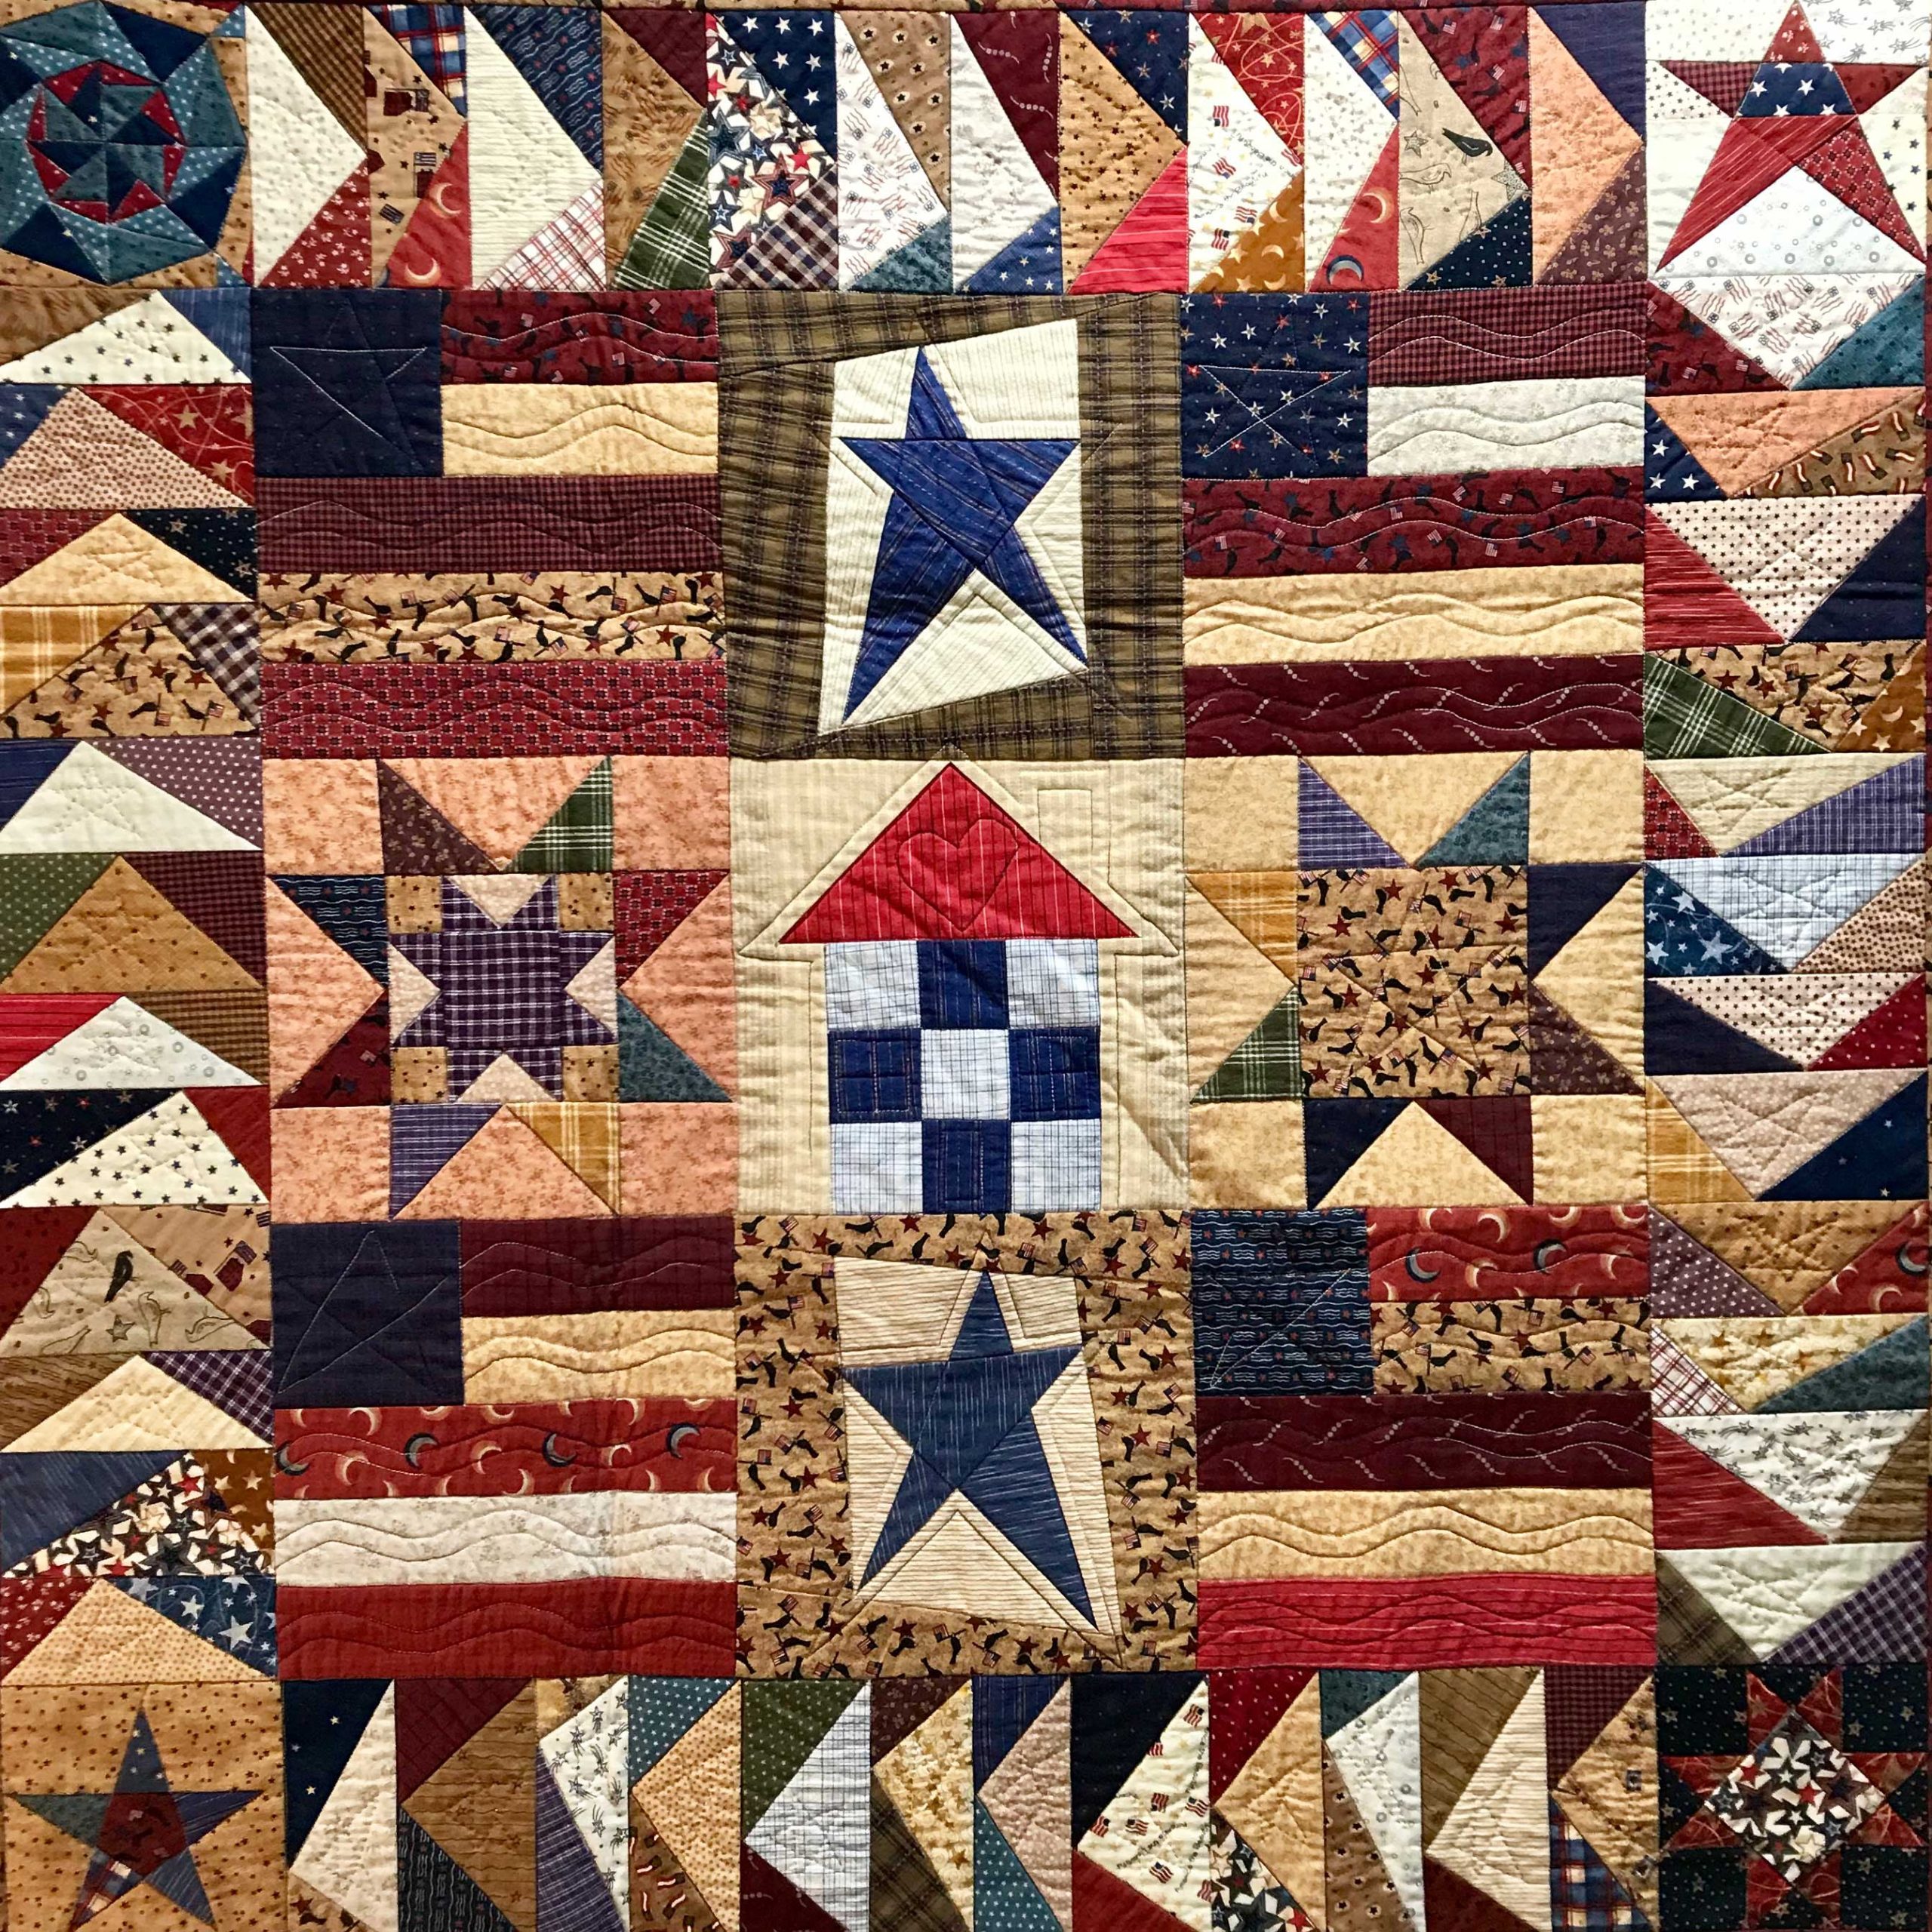
Sandra Starley’s Cheddar Stars Quilt Class,
Sandra Starley’s Cheddar Stars Quilt Class, Pieces and Patches Quilt Guild, Jackson, MI, 2017. (Image courtesy of the author)
Intermediate to Advanced
You know the basics; now take your quilting to a new level. A class can help you begin that quilt you have always wanted to make but been scared to start, like a New York Beauty or hand applique project.
Challenge yourself to learn a technique you have never tried before or a new style. If you have always done hand quilting or applique, try machine quilting or vice versa.
General Guidelines
In-person or online – make sure you have all the necessary class supplies. Get the supply list and ask questions about what you will need for the class time. The class list may include what you will need for the whole quilt project like batting and backing, but you won’t need those in the basic piecing class. But they are essential for a machine quilting class.
Check on whether a machine is needed or provided. You want to be ready to sew and learn. This applies to all classes both with hand or machine work. It is especially important to make sure your sewing machine is in good working order and that you know how to use it. If you are a newbie, do some practice sewing before class so you are not frustrated in class.
Quilting is supposed to be enjoyable, and being prepared helps that happen. Come ready to learn and try different ways to create, even if you have been sewing for years. Keep an open mind and you will be pleasantly surprised with what you can see from a new perspective.
Do not forget the chocolate or your favorite treat. You need to keep up your energy for all your sewing fun!
Sandra Starley is nationally certified quilt appraiser, quilt historian, and avid antique quilt collector. She travels throughout the U.S. presenting talks on antique quilt history, fabric dating classes and trunk shows as well as quilting classes. Learn more at utahquiltappraiser.blogspot.com. Send your comments and quilt questions to SandraStarley@outlook.com