
February 2022
Covering Quilts
Quilted fabric postcards – A piece of mail, a real work of art
by Sandra Starley
Last month I wrote about starting the year off right by learning to quilt or trying a different method of quilting. Stretching your brain with new and challenging techniques keeps your mind active. Why not use quilting to add art and beauty to your world? A fun challenge is creating miniature art pieces. Making mailable mini postcard quilts, aka “art to mail,” is a fun way to brighten your day and that of your friends. Yes, these are little quilty postcards that you can send to your family, friends, soldiers, veterans, etc.
Basic Supplies
The sky is the limit as to what techniques or supplies you can use, but here are the essentials. Like a quilt, your card needs three layers – patterned or decorative front (top), fusible stabilizer (middle), and fabric or cardstock (backing). You just need a few pieces of fabric for the front and a plain rectangle for the address (back side). Add some fusible interfacing or stabilizer to give the postcard support. Fast2Fuse, which has iron-on glue on both sides or something similar, works well. You can use a dense piece of batting and add fusible. A sewing machine and thread come in handy for piecing and quilting and for the securing the edges. The United States Post Office does have some regulations you need to follow for mailing. Your postcard should finish at 4 inches high and 6 inches wide and be no thicker than 1/8 inch.
Create A Design
You can sew a simple piecing design and then fuse it to the top, or you can sew directly onto the interfacing. Pick a pretty piece of fabric and just use that as your front. There are no rules (well, except for those USPS ones listed previously). You can add quilting or not, your choice. Since the front is fused to the center by ironing them together, quilting is not necessary, but it does add interest. If you are a quilter, grab a leftover block or part of a UFO (unfinished object) and use that rather than making something.
Challenge Yourself
Because the design space is small, it is the perfect place to experiment or test out new materials. Have you always wanted to try fabric painting? Give it a go. Or do you have a set of watercolor fabric crayons? I used mine to make an Edgar Allen Poe Raven postcard. Add embellishments or yarn couching or other mixed media. But remember if you have yarn or other items that could get caught in a mail sorting machine, it is best to send your card in an envelope.
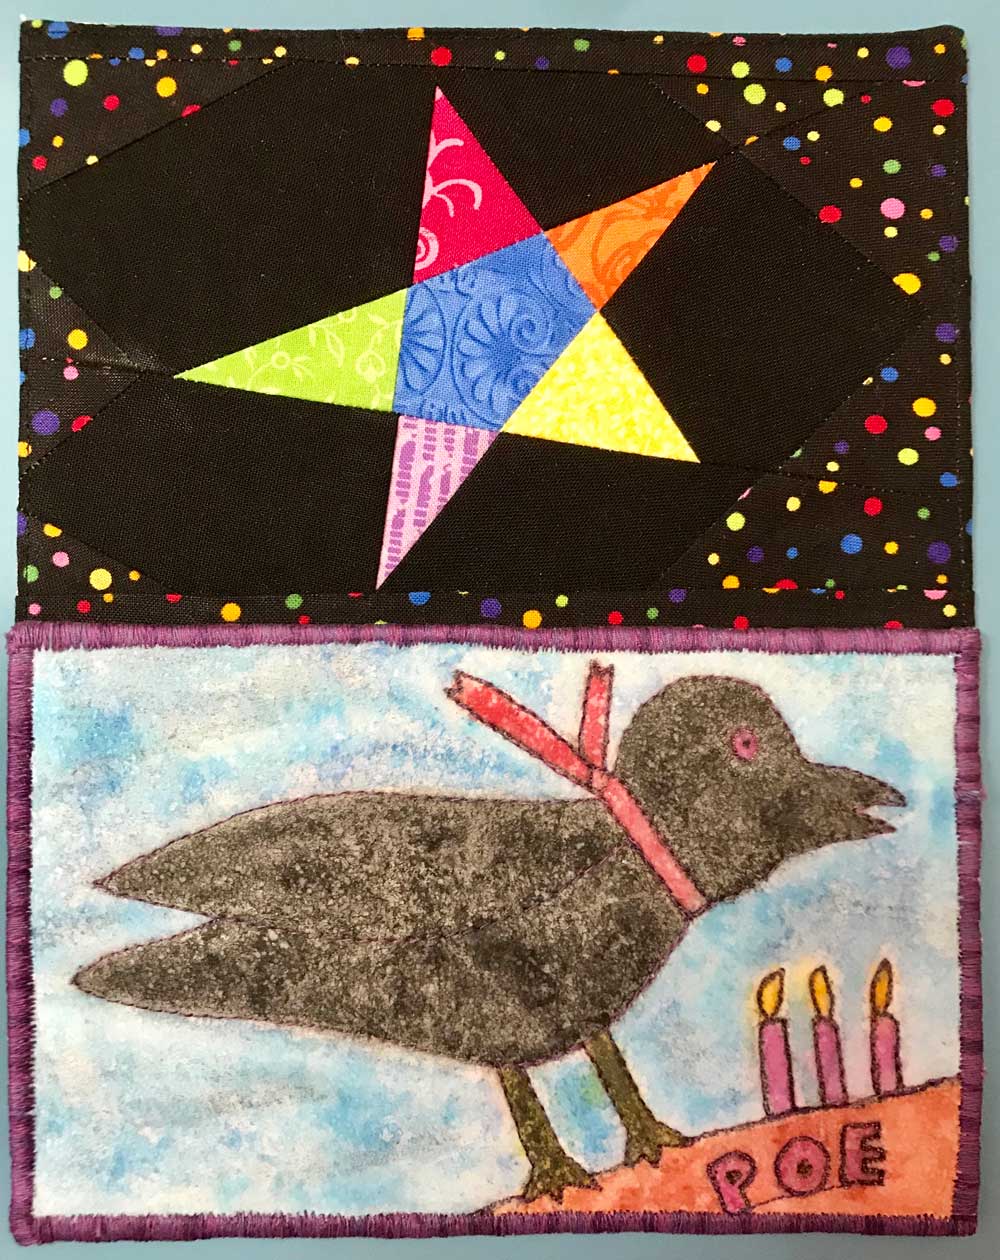
Quilted fabric postcard
Example of a quilted fabric postcard. (Image courtesy of the author)
Finishing and Mailing
Next, you need to add a backing to your postcard. A plain piece of muslin or neutral fabric works well or even cardstock or manila folder piece. Fuse the fabric onto the back of the stabilizer. Measure and trim down the postcard unit to 4 x 6 inches. Finish by machine stitching along the edges using a satin stitch. Your card is now ready to be addressed and mailed. Be sure to divide the back into two sections like a commercial postcard and write postcard and your address on the left side. Put the mailing address on the right side and add postage. You will need to use at least a regular mail stamp (not a postcard stamp). Or take the card in and make sure you have the proper postage and get it hand canceled. I hope you are inspired to create and share a piece of art via snail mail. Challenge your friends and do a postcard art exchange. Start creating!
Sandra Starley is nationally certified quilt appraiser, quilt historian, and avid antique quilt collector. She travels throughout the U.S. presenting talks on antique quilt history, fabric dating classes and trunk shows as well as quilting classes. Learn more at utahquiltappraiser.blogspot.com. Send your comments and quilt questions to SandraStarley@outlook.com